
Your website and booking page
- Free
- Solo
- Shop
- The website, booking page, sections, ready-made colour sets, link and QR code are on Free, Solo and Shop.
- Your own brand colours, a custom domain, the AI writing assistant and removing the "Powered by ServiceSprig" footer are on Solo and Shop.
Updated
ServiceSprig opens to everyone on Tue 8 Dec 2026. Until then sign-up is by early access, paid plans and online payments aren’t switched on, and prices are proposed launch prices. Anything marked “at launch” starts that day; anything marked “planned” isn’t built yet. Join early access
On this page
Your website and your booking page are built together. Clients book at youraddress.servicesprig.app/book, or from the booking button on your site.
Edit your sections
- Go to Website.
- Click a section in the Preview to edit its words and photos. Switch between Desktop and Phone to see both.
- To add a section, choose one from Add a section: About, Services and prices, Team, Gallery, Hours and location, Reviews, Questions or Contact.
- Use the up and down arrows under Page sections, top to bottom to reorder them.
- To remove one, open it and tap Remove section. You can undo this.
- Tap Save draft to save without going live, or Publish to put your changes live.
Every site keeps an Opening section and a Booking prompt section, so clients can always book you. Your services, prices, team and hours come from the rest of ServiceSprig, so they stay up to date on their own.
The badge at the top shows Not published, Live, or Live, with unpublished changes. Only the owner can publish.
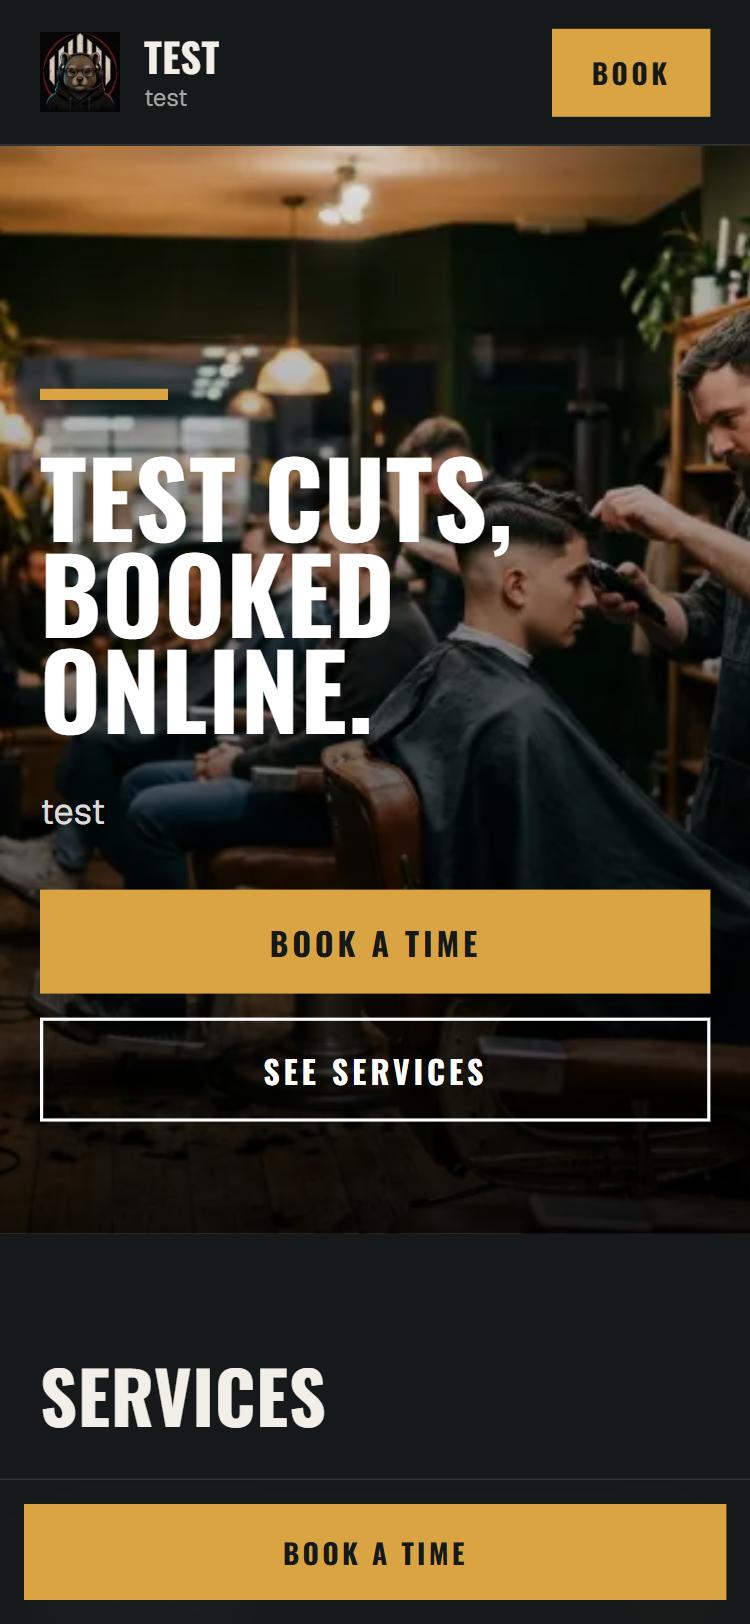
Change your template, colours and logo
- On Website, tap Brand kit and template.
- Template: pick Workshop, Editorial or On the road. All your sections, text and photos are kept when you switch.
- Colours: pick one of the ready-made colour sets for your template. On Solo and Shop you can also choose Your own colours and set the main colour, background, text and second colour.
- Logo: add your logo. A wide PNG with a see-through background works best.
- Publish to put it live.
Your colours and logo are used on your website, booking pages, emails, the check-in tablet and link previews. If a colour would make text hard to read, ServiceSprig adjusts it to the nearest readable shade. Fonts come with each template.
Let AI help write your copy (Solo and Shop)
Tap AI writing assistant to draft your site's words, rewrite a section, suggest questions or describe photos. You choose the tone and length. Suggestions are a preview: nothing changes until you apply them, and nothing goes live until you publish. You get a monthly allowance of credits.
Take your site offline
Open Version history and tap Take site offline. Clients can't see it or book until you publish again. Version history also lets you restore an earlier version.
Use your own domain (Solo and Shop)
You'll need access to your domain's DNS settings (where you bought the domain).
- Go to Settings and find Custom domain.
- Type your domain in Domain, like yourshop.com, and tap Add domain. Add both yourshop.com and www.yourshop.com.
- ServiceSprig shows the records to add at your domain provider: a TXT record that proves you own it, plus an A record (for yourshop.com) or a CNAME record (for www).
- Add them at your provider, then tap Check DNS. DNS changes can take a while; tap Check again later.
- When it shows Verified, tap Make main address.
Verify within 72 hours, or the claim lapses. Your site gets a secure (https) address automatically. Your ServiceSprig address keeps working on every plan. If you move from a paid plan to Free, your custom domain keeps working for a 30-day grace period.
Share your link and QR code
- On Website, tap Share (it appears once your site is live). Or use Share your booking link on Home.
- Tap Copy link, or QR code (PNG) to download a QR code.
Ideas: put the link in your Instagram bio (in Instagram: Edit profile, then Links, then Add external link), your Google Business Profile and your text replies. Print the QR code for your counter or mirror.
Already have a website? Add a booking button
- On Website, tap Add booking to your website.
- Style the Button and the Booking window, and choose how it appears under Display: a button that opens a booking window, a floating button in the corner, or booking built into the page.
- Tap Save settings.
- Under Add it to your website, pick a tab (Button, Floating button, Built into a page or Plain link) and tap Copy for each code block. Paste the code into your website.
Your ServiceSprig website must be published first. Clients book without leaving your site.
"Powered by ServiceSprig"
Free sites show "Powered by ServiceSprig" at the bottom. On Solo and Shop it's removed automatically; there's no setting to change.
Stuck? Email hello@servicesprig.com and we'll help.
Next guide: Your team: staff, logins, hours and services