
Getting started: from sign-up to your first booking
- Free
- Solo
- Shop
Everything in this guide works on the Free plan.
Updated
ServiceSprig opens to everyone on Tue 8 Dec 2026. Until then sign-up is by early access, paid plans and online payments aren’t switched on, and prices are proposed launch prices. Anything marked “at launch” starts that day; anything marked “planned” isn’t built yet. Join early access
On this page
Set aside about 20 minutes. By the end you'll have your services, your hours and a live website that clients can book from.
1. Create your account (2 minutes)
- Go to the sign-up page and enter your Email and a Password of at least 10 characters.
- Tick the box to confirm you're 18 or older, signing up for a business, and agree to the Terms of Service and Privacy Policy.
- Tap Create account.
- Check your email and open the confirmation link. No email? Tap Didn't get it? Send it again.
You sign in with your email and password, or ask for a link with Email me a link instead. There's no "Sign in with Google".
2. Set up your business (1 minute)
Set up your business asks for four details:
- Business name.
- Your website address. Clients book at youraddress.servicesprig.app. Use 3 to 40 lowercase letters, numbers and dashes. ServiceSprig tells you if it's free or taken.
- Kind of business and Time zone.
- Your name, shown to clients when they book with you. You're added as the first team member.
Tap Create business. You can change all of this later.
3. Follow the checklist on Home
Your Home page shows Get ready to take bookings, with a list of steps. Your website stays private until you publish it.
Add your services and prices (5 minutes)
- Go to Services.
- In Add a service, fill in the Service name, Length (min) and Price ($).
- If you need time to set up, travel or tidy up, add Prep time before (min) or Clean-up time after (min). Nobody can book you during it.
- Leave Clients can book this online ticked.
- Tap Add service. Repeat for each service.
Use the arrows to put services in the order you want. Your website and booking page list them in that order.
Check your working hours (3 minutes)
- Go to Team and hours.
- Under Weekly hours, set the times you work each day. Leave a day empty for Closed. Use Add hours after a break for a lunch break.
- Tap Save hours.
Online booking only offers times inside these hours. For a day off or holiday, see Team and staff.
Add a phone or email clients can reach (1 minute)
Go to Settings and add your business phone or email. It shows on your site, and on the Free plan it's what clients see if online booking is full for the month.
Publish your website (5 minutes)
- Go to Website. You'll see a starter site and a Preview.
- Click any section in the preview to edit its words and photos. Change the look in Brand kit and template.
- Tap Publish. The badge changes from Not published to Live.
Your site needs a Booking prompt section to publish. It's there from the start. More in Your website and booking page.
Share your booking link (1 minute)
Back on Home, under Share your booking link, tap Copy link and put it in your Instagram bio, Google profile and messages. Tap Show QR code and Download QR code to print one for your counter.
4. Take your first booking
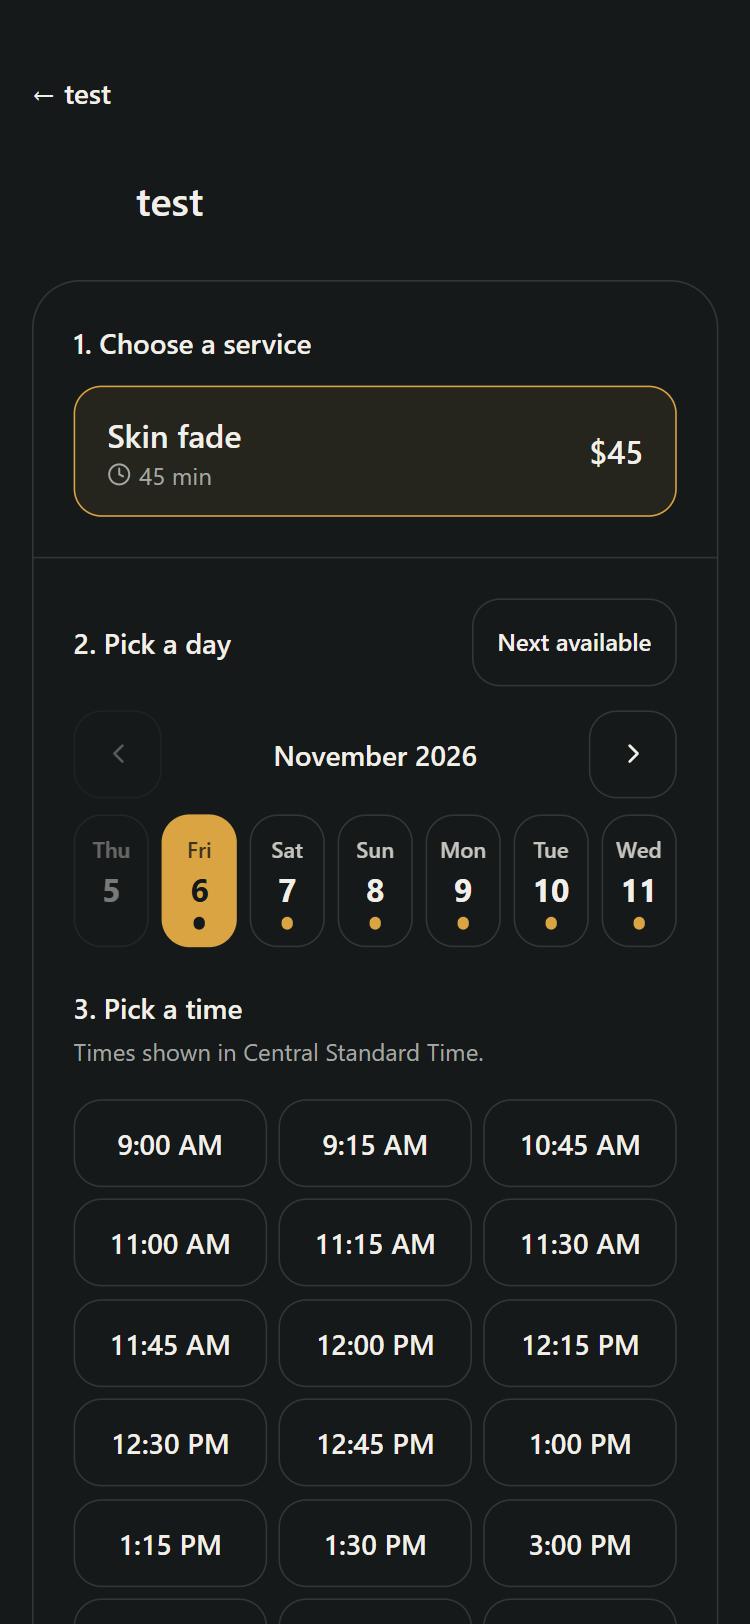
Try it yourself first: open your site, tap the booking button, pick a service and time, add your details, and tap Confirm booking. You'll get a confirmation email, and the booking appears on Calendar.
Clients book without an account, and can reschedule or cancel from the link in their email.
Taking a booking by phone or walk-in? On Calendar, tap New booking, choose the service, client, date and time, and tap Book appointment.
Next steps
- Bring your clients over: Your clients
- Add an intake form: Intake and consent forms
- Set your cancellation policy: No-shows and policies
- Add your link to Google: Your Google Business Profile
Stuck? Email hello@servicesprig.com and we'll help.
Next guide: Your website and booking page